The kitchen is the hardest-working room in your home — and the one that shows neglect the fastest. This is the exact deep cleaning process our Green Guru team follows, refined over hundreds of Tucson home cleanings.
Print this out (Ctrl+P or Cmd+P) and work through it section by section. The order matters — we always work top to bottom so debris falls to surfaces we haven't cleaned yet.
What You'll Need
You don't need a cart full of specialty products. What you need is the right tool for each surface. Here's what professional cleaners actually reach for:
Step 1: Light Fixtures, Range Hood & Vents
Start at the highest points. Dust on light fixtures, range hoods, and vent covers will fall onto everything below as you work. Get these first or you'll be re-cleaning surfaces you already did.
- Dust or wipe light fixtures and any ceiling fan blades in the kitchen
- Wipe the exterior of the range hood — top, sides, and face
- Wipe vent fan covers and the ceiling area around them
- Hood filters: Remove and soak in hot water with washing soda for 15–20 minutes, then scrub with a stiff brush. The grease releases cleanly. This is the only method that genuinely works on heavily built-up filters.
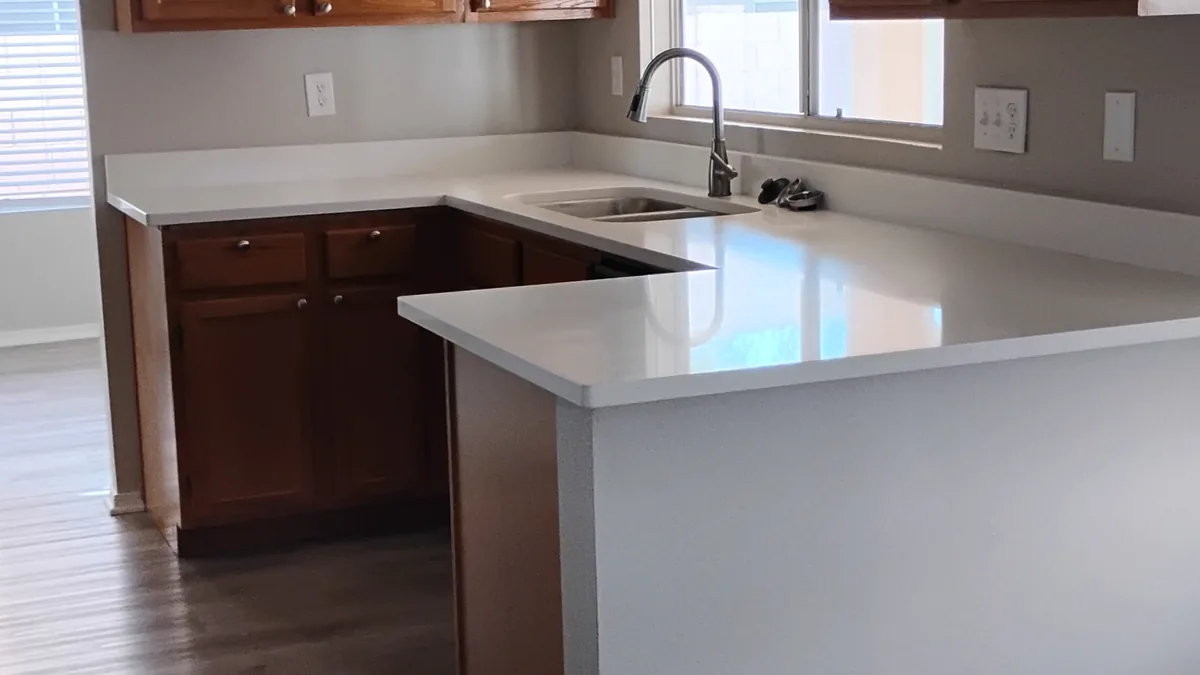
Step 2: Upper Cabinets, Countertops & Lower Cabinets
Work clockwise around the room so nothing gets skipped.
Upper Cabinets
- Wipe all cabinet faces with a damp microfiber and all-purpose cleaner
- Check the tops of upper cabinets if they don't reach the ceiling — grease and dust collect heavily up there and are invisible from standing height
Countertops
- Wipe all counter surfaces — but lift everything first. Items that sit in one spot accumulate grime and grease underneath that never gets cleaned otherwise.
- Don't skip horizontal ledges: backsplash borders, thick drawer faces, windowsills above the sink
- Sweep crumbs to the floor — you'll vacuum at the very end
Countertop Appliances
- Wipe coffee makers, toasters, air fryers — all sides, not just the front face
- Lift or tilt small appliances to clean behind and underneath them
- Rinse and re-dampen your microfiber frequently — a dirty cloth just redistributes grime
Lower Cabinets & Drawer Fronts
- Wipe all cabinet faces and drawer fronts below counter height
- Pay attention to handles and edges — greasy hand contact concentrates here and it builds up between deep cleans
Step 3: Microwave
- Clean inside and out with a damp microfiber and all-purpose cleaner
- For stuck-on food: place a bowl of water inside and microwave 2 minutes to steam-loosen residue before wiping — saves significant scrubbing
- Remove the turntable plate and hand wash if needed
- Wipe the door seal and exterior controls — these are high-touch and almost always skipped
Step 4: Dishwasher
- Wipe the exterior with your microfiber (glass towel for stainless steel finish)
- Open the door fully and wipe the horizontal top edge — it collects splatter and drips from every cycle and is almost never cleaned
- Wipe drips and residue from the rubber door gasket
Step 5: Trash Can
Wipe the exterior and the interior of the lid. If your trash can lives inside a pull-out cabinet, pull it all the way out and wipe the inside of the drawer cabinet — crumbs and drips build up invisibly in there.
Step 6: Refrigerator Exterior
- Wipe all door handles and faces
- Pay attention to the tops of pull-out drawers and any horizontal ledges on the door — fingerprints and drips concentrate there
- For stainless steel: use a glass towel slightly dampened, wipe with the grain of the steel
- Buff dry immediately with a second glass towel using light circular motions to eliminate streaks
Step 7: Refrigerator Interior
This is what separates a deep clean from a regular wipe-down. Budget 20–30 minutes just for the refrigerator interior.
- Start at the top shelf — remove all contents, then remove the shelf itself
- Close the door between steps to maintain temperature
- Wipe the shelf with a damp microfiber; for stuck residue, use your non-scratch sponge under cool running water
- Dry completely before reinstalling — wet shelves immediately attract more debris
- Before sliding the shelf back in, wipe the shelf ledges and interior walls behind where it sat
- Repeat working downward through each shelf
Produce drawers: Empty, rinse with cool water, wipe clean, dry completely before reloading. Old produce residue in these drawers is the source of most refrigerator odors — it's worth taking the extra minute.
Door compartments: Remove contents, wipe walls, dry, reload. For sticky spills, a barely damp melamine sponge works well on door bins without scratching the surface.
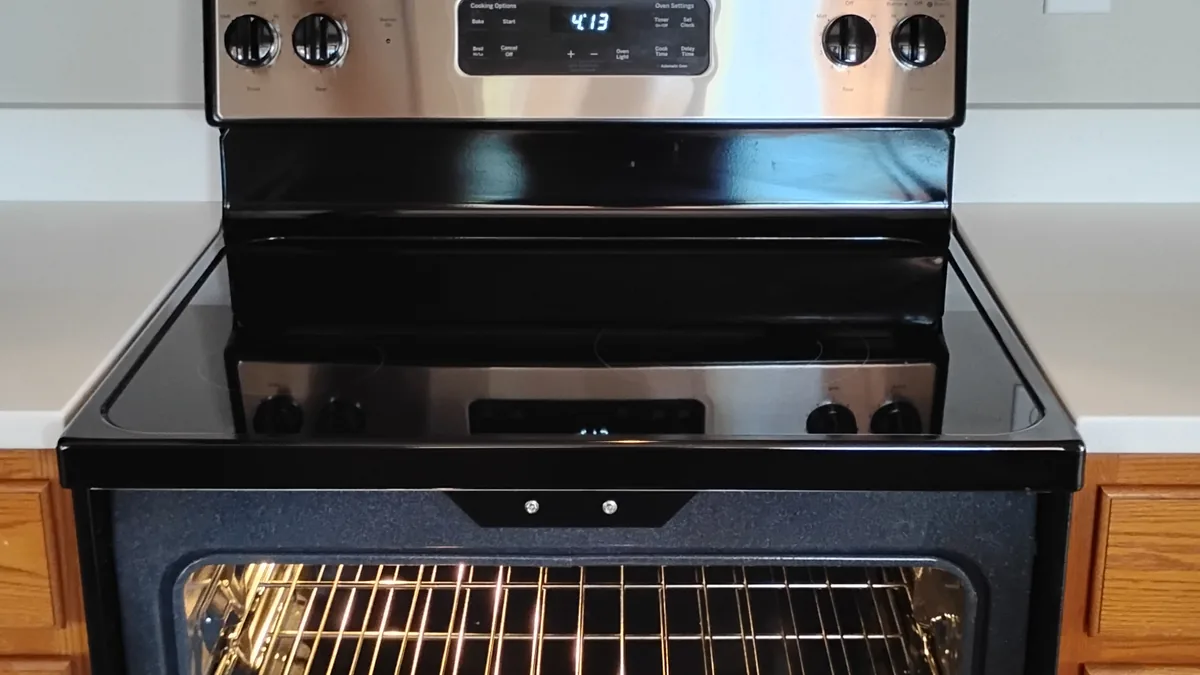
Step 8: Range & Stovetop
Gas Ranges
- Remove grates one at a time and place in the sink
- Scrub with your non-scratch sponge plus hard water/lime remover — the mild acid breaks down grease and mineral deposits simultaneously
- Rinse clean and set on a dry towel to air dry
- Use the same sponge on the burner caps and any char around the burner bases
- Wipe down the entire range surface with your all-purpose cleaner
- Clean the oven door glass with a glass towel dampened with water; use hard water remover for any mineral spotting
- Check the handle — crumbs pack into the underside of gas range handles and are almost always missed
Glass-Top Electric Ranges
- Spray all-purpose cleaner close to the surface to minimize overspray drift onto surrounding areas
- Work charred spots with your non-scratch sponge and a small amount of hard water remover — the gentle abrasive action lifts char without scratching the glass
- For anything that doesn't budge: use a glass scraper at a very low angle, keeping the surface completely wet at all times to prevent scratching
- Wipe residue with a damp microfiber
- Polish with a dry glass towel for a streak-free finish
Coil Electric Ranges
- Remove coils and the drip pans beneath them
- Soak drip pans in hot soapy water a few minutes, then scrub with your sponge and hard water remover — aluminum pans won't fully restore but will show clear improvement
- Rinse, dry, and set aside
- Most coil ranges have a hinge at the back — lift the range top like a car hood to wipe underneath and sweep crumbs forward for later vacuuming
- Reassemble and wipe the oven door face with a glass towel
Oven Interior
Removing the oven door:
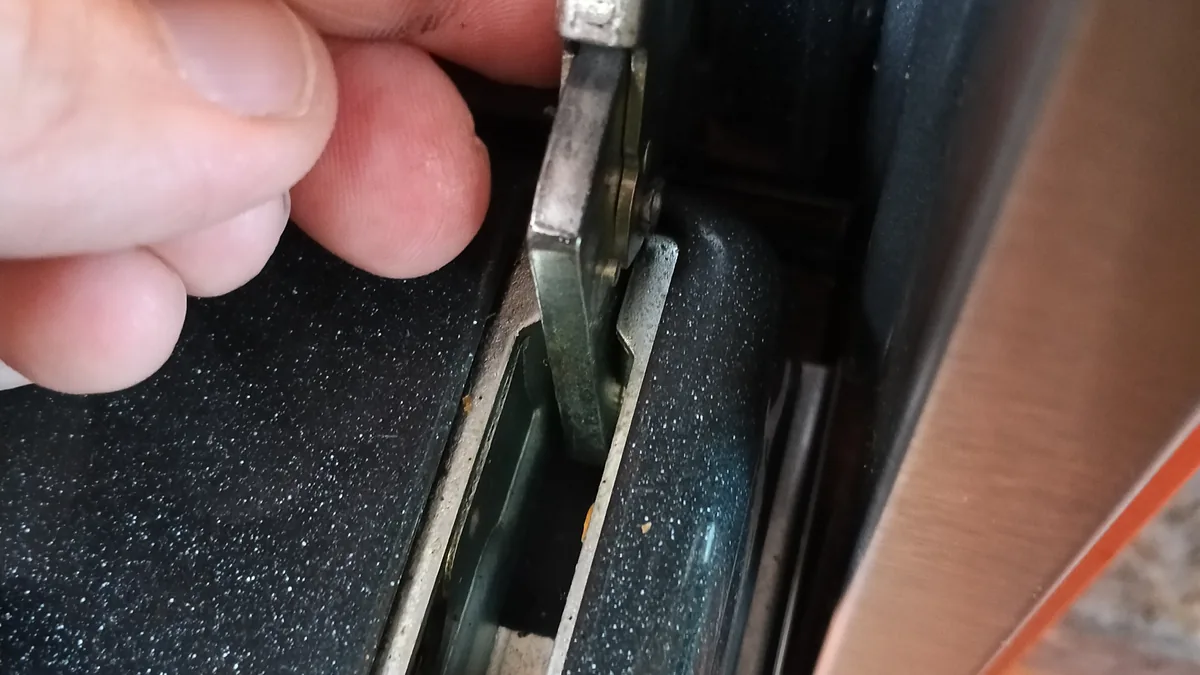
- Open the door fully and locate the hinges on each side
- Find the small flip tabs — they point from the oven frame toward the door
- Flip the tabs down (away from the oven frame) to unlock the hinges
- Close the door to the vent position — the first catch, partway closed
- Grip the handle firmly and lift straight up — the door slides free completely
- Set the door flat on a counter, glass side up
Start the door soaking while you clean the interior:
- Saturate the glass with all-purpose cleaner
- Apply your hard water / lime remover over the glass and spread it around
- Leave it to dwell — 10 minutes of dwell time does more work than 10 minutes of scrubbing
Cleaning the oven interior:
- Remove oven racks and set aside
- Spray the interior with all-purpose cleaner
- Use a pumice screen or pumice stone to scour char and stains — this is what professional cleaners use. It removes carbon buildup that no spray product will touch, and it won't scratch porcelain enamel because the pumice is softer than the surface.
- Wipe frequently with a damp microfiber as you work
- For stubborn spots, apply hard water remover and let it dwell 3–5 minutes before working again
- Oven racks: scrub with your non-scratch sponge and hard water remover in the sink. For heavily built-up racks, soak in hot water with washing soda for 20 minutes first.
Finishing the door:
- The dwell time will have loosened most of the burnt-on grease and mineral film
- Use the glass scraper at a shallow angle — keep the glass wet the entire time
- Wipe clean with a damp microfiber, then dry and buff with a glass towel
- Reinstall the door by reversing removal — slide hinges into slots, flip tabs back to locked position
Step 9: Sink
- If there's a window above the sink, wipe water spots first with a damp glass towel before you wet anything else
- Scour all five sides of the sink basin with your non-scratch sponge and hard water remover — removes water stains, soap scum, and mineral deposits at the same time
- For rust or coffee stains that remain after scrubbing, a melamine sponge used lightly will usually lift them
- Remove the drain filter basket — scrub inside the drain opening and clean the basket thoroughly; this is where odors originate
- Scrub around the faucet base and all handles — mineral buildup concentrates at the base of faucets
- Wipe soap dispenser exteriors; rinse first if dried soap has crusted on
- Rinse the entire sink with a wet microfiber, then dry completely
- Dry faucet components including undersides and hidden areas — drying is what slows mineral re-buildup
Step 10: Floors
Floors are always last — for the kitchen and for the whole home. Every step before this has loosened debris that's now sitting on the floor. Cleaning floors first and cleaning everything else after means you're mopping twice.
Vacuuming first:
- Vacuum the entire floor thoroughly, including all corners
- Use a crevice tool or extendable wand to reach the toe kick under cabinets — a surprising amount of debris lives in there permanently
- Lift floor mats and vacuum underneath them
- Move lightweight furniture to vacuum beneath it
- Don't skip behind the trash can
Mopping:
- Use a pH-neutral floor cleaner, properly diluted — not your all-purpose spray. Over time, wrong pH strips floor finish and darkens grout. This matters more than people realize.
- Start in the far corner from the exit so you're always moving away from what you've cleaned
- Work backward in overlapping figure-eight sweeps — this gives complete coverage without walking over wet areas
- For stuck-on food on floors or baseboards, a plastic paint scraper or old gift card lifts it without scratching when the mop alone doesn't pull it up
- Let air dry fully — don't walk on hardwood until it's completely dry
Here's the thing about deep cleaning your own kitchen: the checklist is straightforward. The time is not.
Two-plus hours, at minimum once a month. That's assuming you already have the right tools, you know the order of operations, and nothing has been neglected long enough to require real restoration work.
Most people do a version of this — they wipe counters, vacuum, mop. But the oven interior, the refrigerator shelves, the range hood filters, the drain basket, the inside of the cabinet hinges, the underside of the microwave — those get skipped. Every time. For months at a stretch.
Not because people don't care. Because there are only so many hours. Because the week is long. Because by Sunday most people have fully earned the right not to spend the afternoon on their knees scrubbing an oven.
A deep clean that's perpetually on the to-do list isn't a cleaning system. It's a list of intentions.
The homes that are genuinely and consistently clean belong to people who've made one of two choices: they protect cleaning time aggressively and treat it like a non-negotiable appointment — or they've found someone they trust to handle it. Most people tell themselves they're in the first category. Most people are in neither.
Use this checklist. Your kitchen will be noticeably cleaner for it.
But if you're reading this at the end of a long week, realizing this particular deep clean has been on the list since sometime last quarter — that's not a motivation problem. That's a capacity problem. And there is no checklist that solves a capacity problem.
Clean Club members get 2 free deep cleans a year.
We bring the tools, the products, and the process. You walk in and it's done.
- ✓ Appliances, baseboards, and everything on this checklist
- ✓ 1 free professional tile or carpet cleaning ($240 value)
- ✓ Priority scheduling & 20% off all extra services
- ✓ Simple monthly autopay — no need to pay per visit
✓ Instant pricing by square footage • ✓ No obligation • ✓ Book online 24/7